Hey everyone! I am so excited to be here sharing my before and after of my Master Bath renovation and some ways that you can update your own bathrooms! I absolutely LOVE interior design and DIY renovations. It is one of the most rewarding things seeing your image and design come to life with your own hands! And believe it or not, it is a lot easier than you might think! Today I am going to walk you through the 5 steps we took to a complete transformation!

- Demolition and prep! This is probably my least favorite part about any remodel, but it’s also one of the most important steps. First up, we removed all the outdated tile. This is the only step we chose to hire out. Removing floor tile can be extremely messy and no fun! Next, we sanded and primed the cabinets and patched any holes or dents on the walls. Now that the boring stuff is over, here comes the real fun!
- PAINT!!! If there is only one thing you can do let it be paint! Painting can completely change a space. For my bathroom, I chose my favorite white called “Simply White” by Benjamin Moore. I love using white in small rooms to make them feel bright and open. For the wall above the sink, I went with a bold black! I love the contrast and midcentury vibe it gave the space.
- Tile, tile, and more tile!! I may have a little obsession with tile, can ya tell? It really isn’t as difficult as most may think. It’s more time consuming than anything! Make sure you rent a ‘wet tile saw’ and get your lines straight while placing them on with pre-mixed mortar. The first thing we did was replace the nasty old tile on the ground with some beautiful hexagon tiles that I got from Home Depot. Like I said, I have an obsession with tiling. I wanted to tile the whole main wall so it’s the first thing you see when walking in. I went with standard 3×6 subway tiles. You can’t beat the price and I love how clean and simple they are yet still making a big statement. We continued them around the whole bathtub. Before I started tiling I added some floating shelves above the bathtub. Always install your shelves first for a seamless finish!
- Next up, hardware and mirrors. We went with round brass mirrors above each sink. I chose a cheap modern light from amazon. I couldn’t find an affordable brass mirror, so I went with stainless steel and used Liquid Leaf to paint it. You would never know I painted with this stuff! It looks SO natural! For the hardware, I got brass hexagon pulls and knobs that went so perfectly with everything!
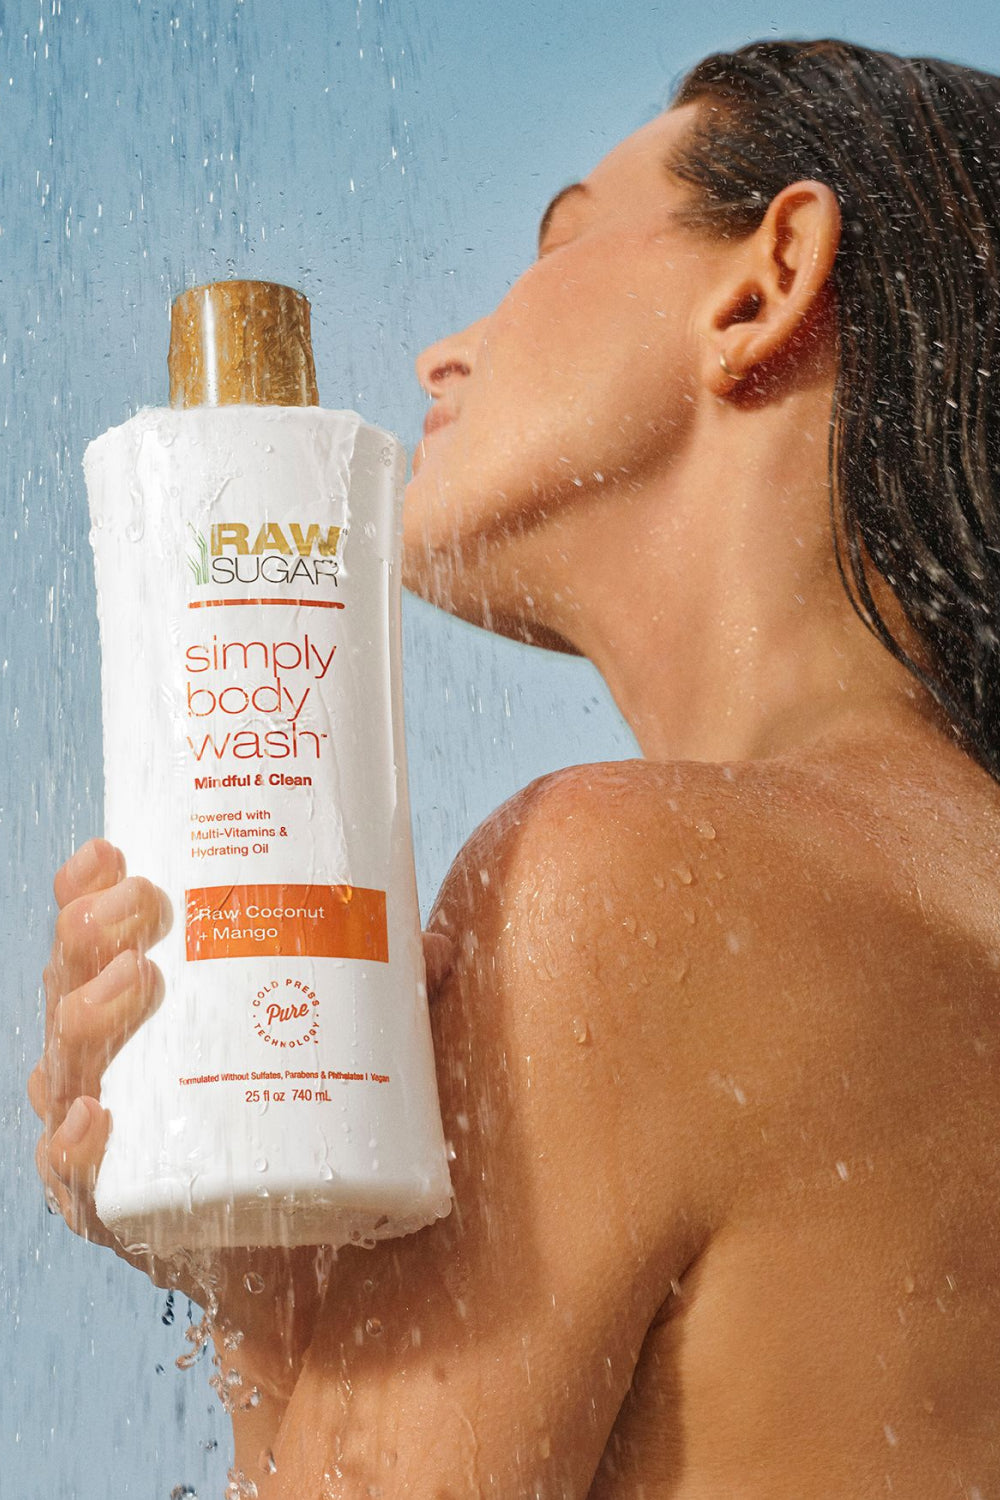
- Finishing touches! I knew I wanted lots of plants to bring some life into the space + to make me feel like I was bathing in the jungle ha! I found a small rug from home goods to place under the sink. I didn’t want to cover up any more of that pretty tile! To finish off the space I added my raw sugar products in basically every corner! Not only are their products amazing, but their packaging is seriously gorgeous! The bamboo tops + white bottles compliment the space so perfectly!


